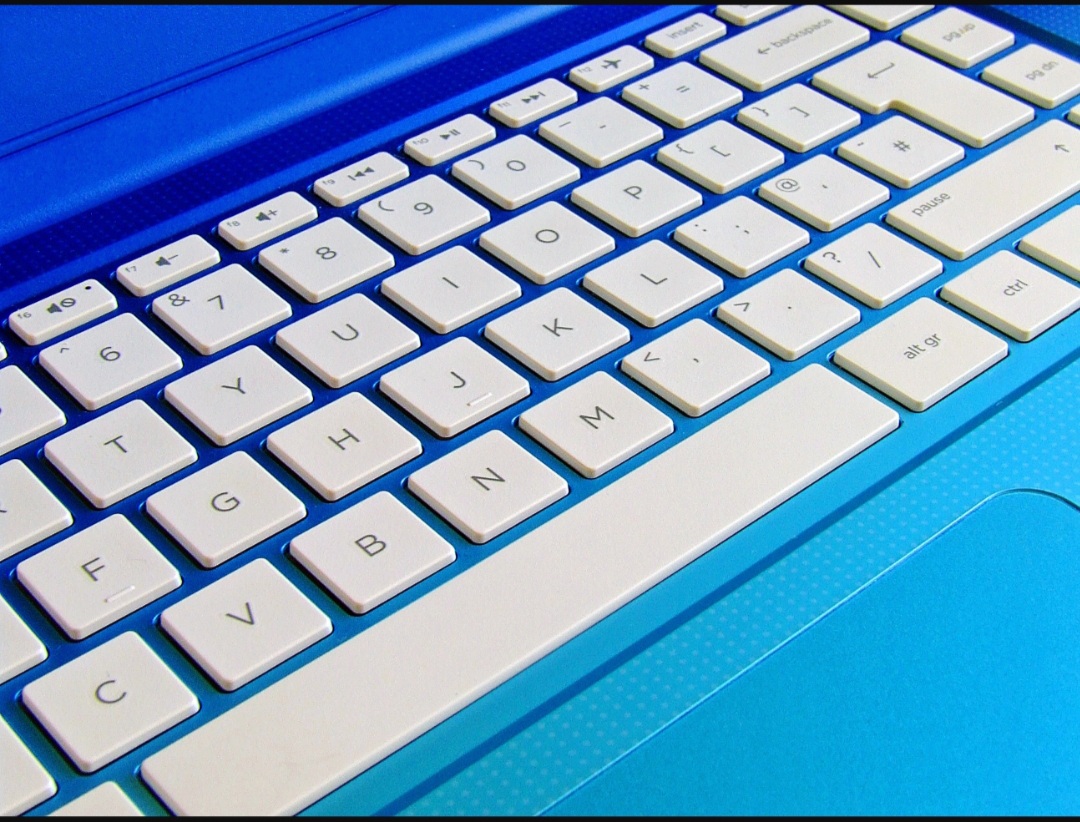
The bumps or raised dots on the F and J keys of a keyboard are known as “home keys” or “home row indicators.” They are designed to help touch typists orient their hands on the keyboard without having to look at the keys.
Touch typing is a method of typing without looking at the keyboard, where the typist relies on muscle memory to locate the keys. The bumps on the F and J keys provide tactile feedback to help touch typists find their way back to the correct position on the keyboard after their hands have moved away.
The idea of using tactile markers on computer keyboards was first introduced in the 1980s, and it has become a standard feature on most keyboards since then. These ridges can also be seen in keypad mobile phones.
The F and J keys were chosen for the bumps because they are located in the center of the keyboard and are the starting positions for the index fingers of both hands. By placing the bumps on these keys, touch typists can quickly and easily locate the home row without looking down at the keyboard, allowing for faster and more efficient typing.
Overall, the bumps on the F and J keys serve as a simple yet effective aid for touch typists to increase their typing speed and accuracy.
How to type on a keyboard with ridges in F and J keys?
The ridges on the “F” and “J” keys of a standard keyboard are designed to help users position their hands properly while typing. The ridge on the “F” key is meant to indicate the home row position for the left index finger, while the ridge on the “J” key is meant to indicate the home row position for the right index finger.
To type on a keyboard with ridges in the “F” and “J” keys, follow these steps:
- Position your hands properly: Place your fingers on the keyboard with your left index finger on the “F” key and your right index finger on the “J” key. Your other fingers should be resting on the keys directly adjacent to these two keys.
- Keep your eyes on the screen: As you type, keep your eyes on the screen and not on the keyboard. This will help you type more accurately and quickly.
- Use the correct finger for each key: The fingers of your left hand should be responsible for typing the keys on the left side of the keyboard, while the fingers of your right hand should be responsible for typing the keys on the right side of the keyboard.
- Maintain proper posture: Sit up straight with your feet flat on the floor and your wrists straight. This will help prevent discomfort or injury from repetitive strain.
- Practice regularly: The more you type, the more comfortable and confident you will become. Practice typing regularly to improve your speed and accuracy.
Overall, typing on a keyboard with ridges in the “F” and “J” keys is easy once you learn the proper technique and practice regularly.
